As a business, it’s vital to use the best social media platform to reach your audience (read more here). The optimal social media platform will vary depending on who your customers are. However, with more than half a billion users everyday, chances are a good percentage of your audience is on Instagram.

So how do you reach them?
It’s common knowledge that Instagram rewards its users who a. Spend the most time on the app, and b. Adopt their new features.
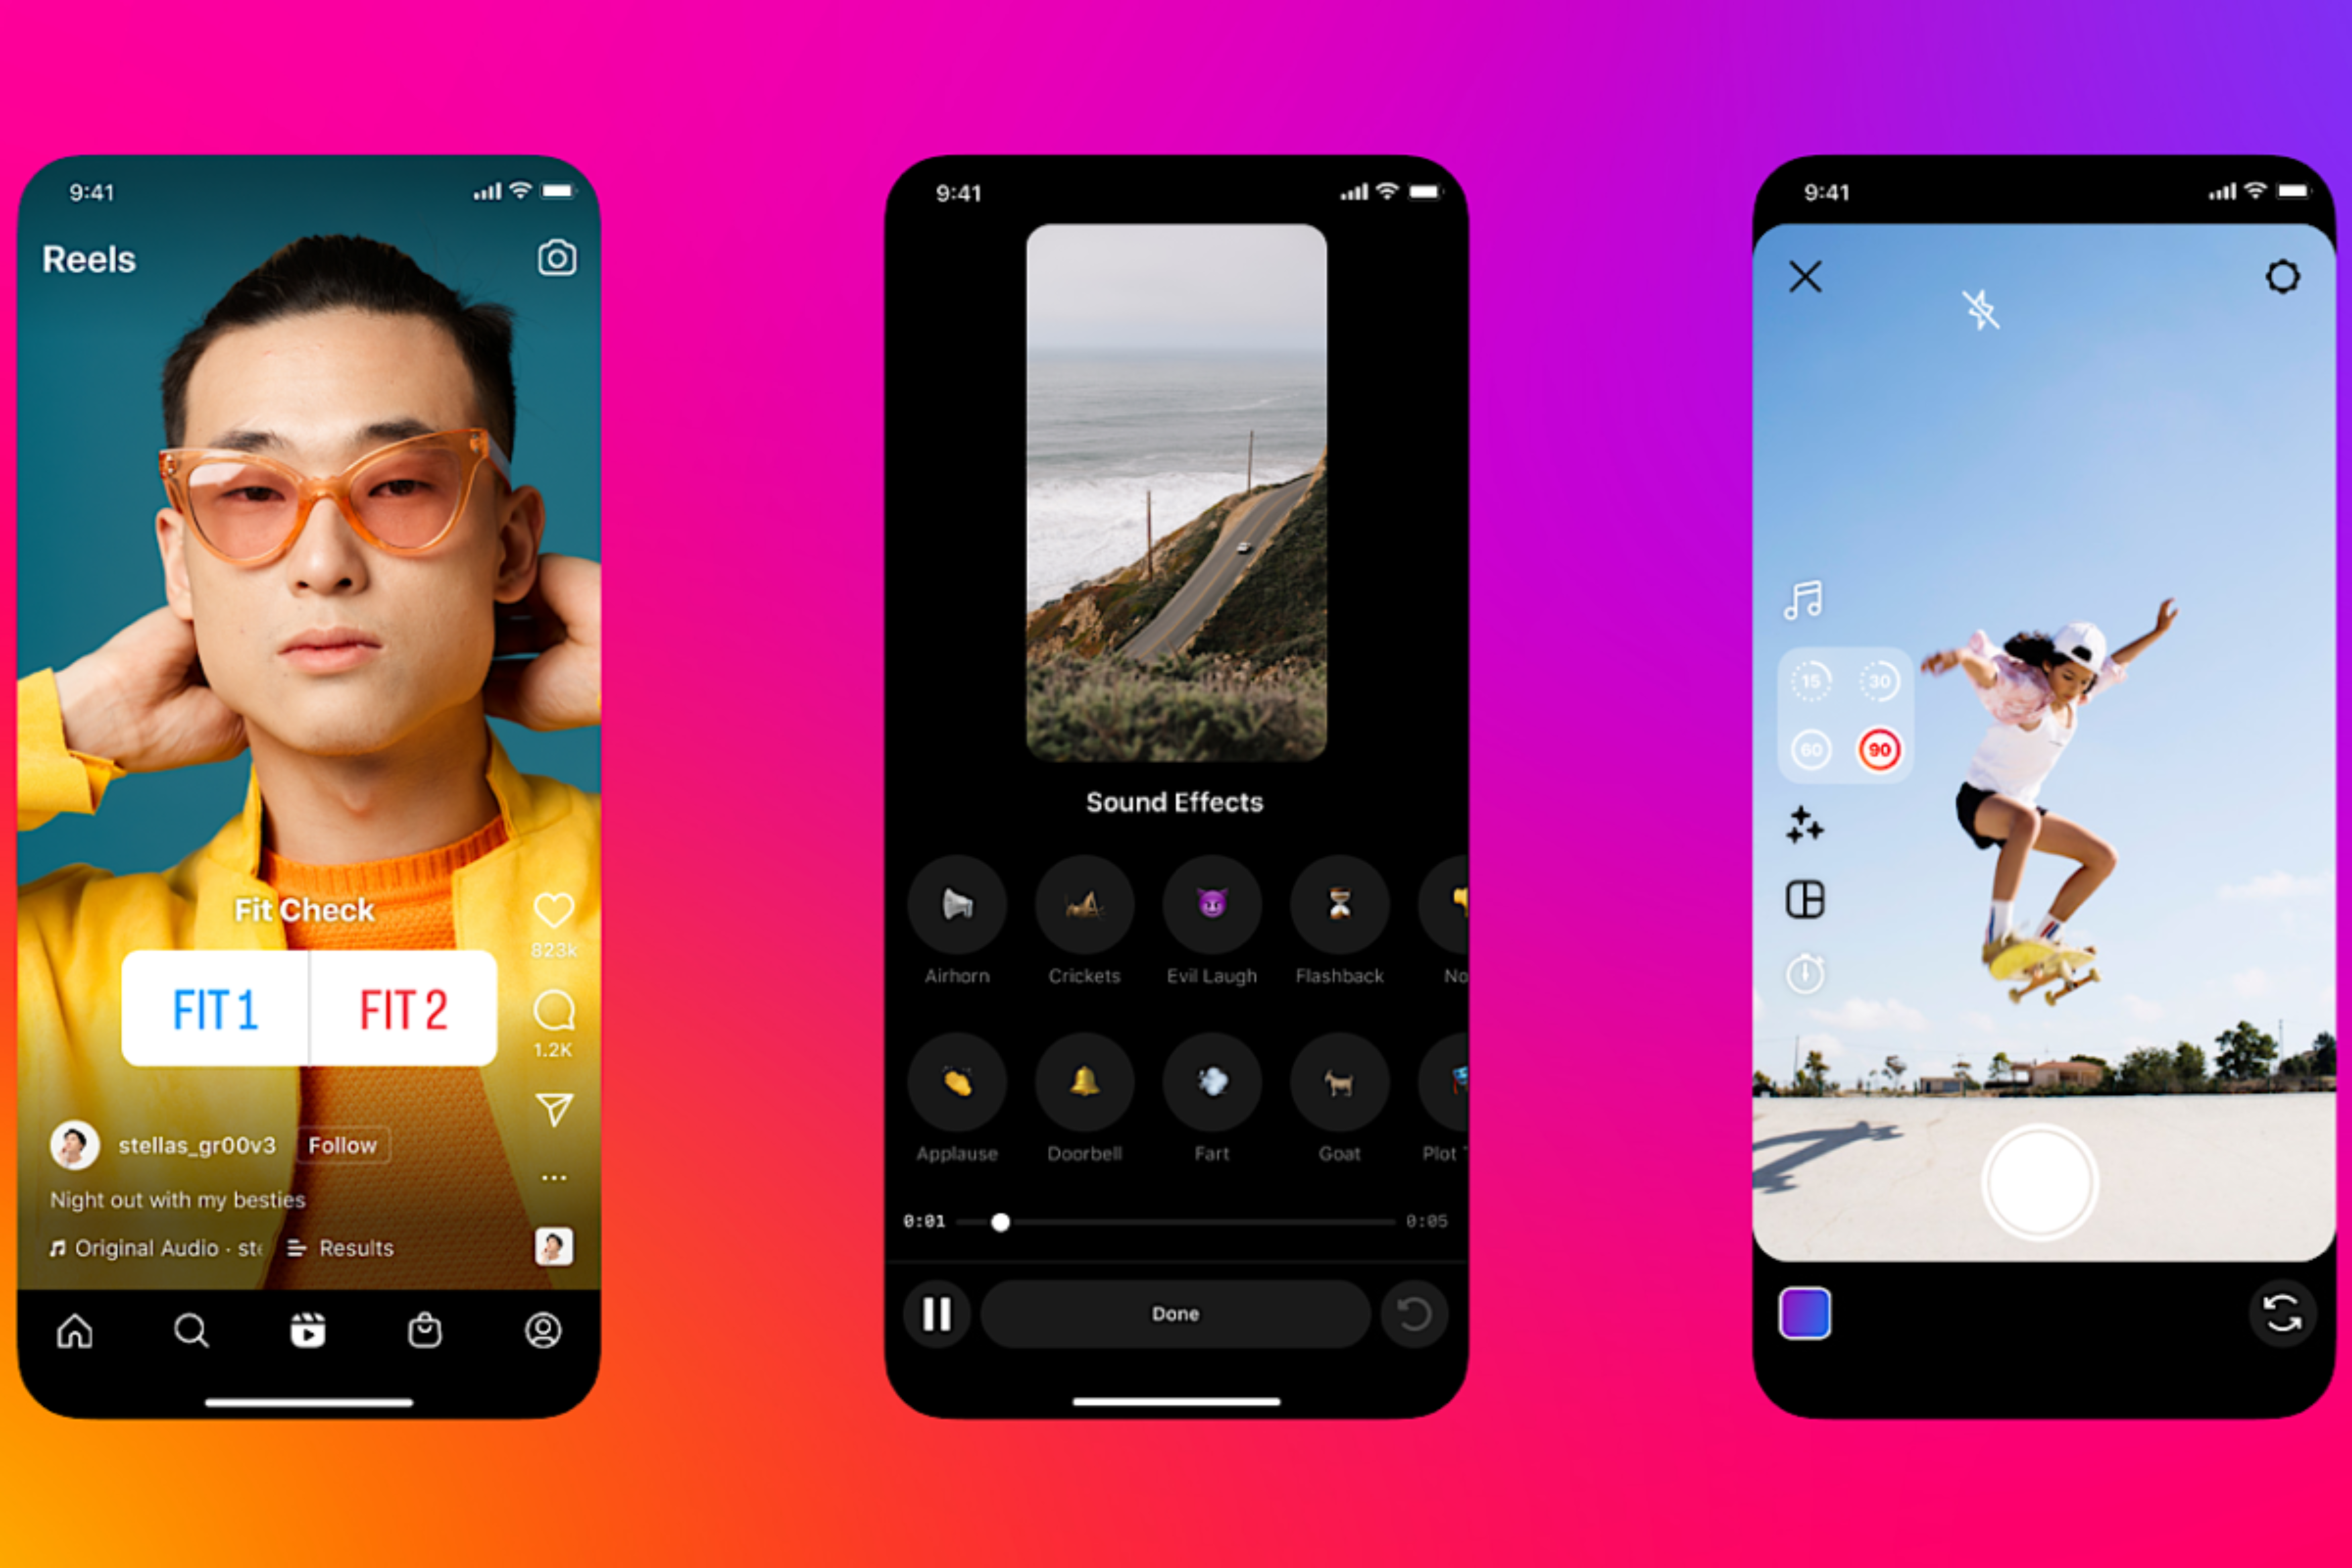
Enter Instagram Reels, the platform’s newest feature that enables users to create and share short form videos within the app.
First launched in 2020, Instagram Reels were originally criticised as a thinly-veiled TikTok knock off, however in the two years since, the format has evolved into a valid marketing tool, with many brands and influencers embracing Reels.
When it comes to creating Reels, users have two options:
1. Record footage via the app.
2. Upload existing footage from your camera roll.
Option one:
- Launch the Instagram app and hit the + symbol at the top of the screen and select Reels.
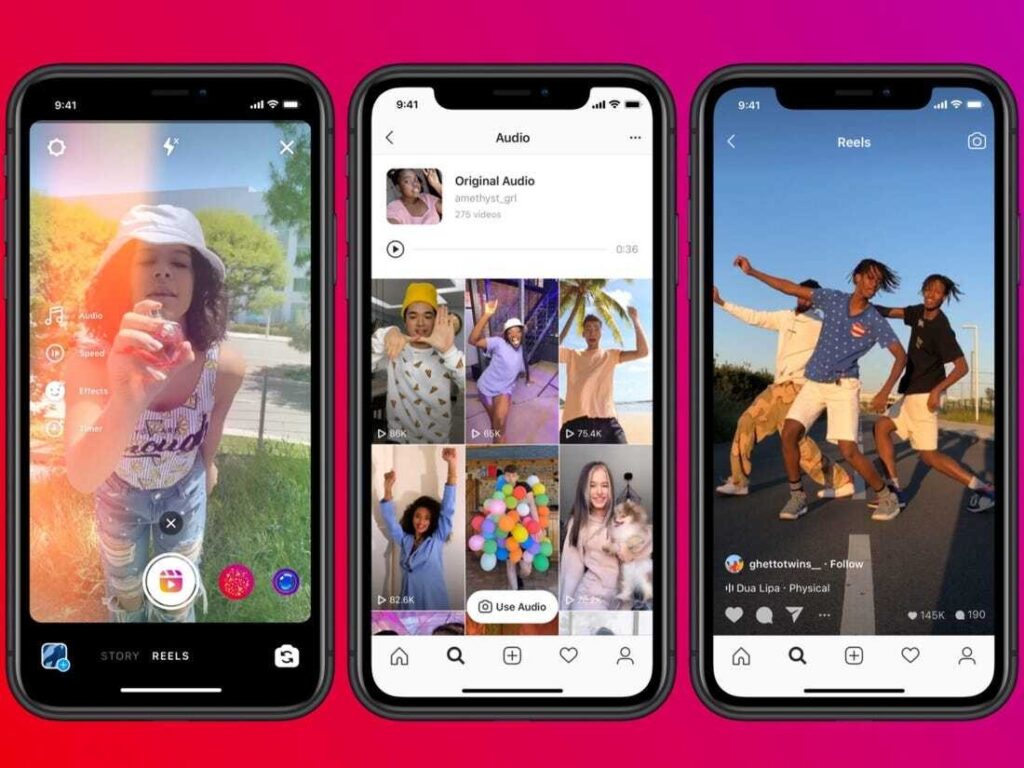
- Use the creative tools to prepare for your recording. You can choose to add audio, change the speed, add special effects before using the timer to set the video length.
- When you’re ready, hold the record button to record a clip.
- You can end the recording by hitting the record button and start a new clip by hitting the same button.
- You can use the align tool to line up objects in the previous clips to create seamless transitions.
- Hit next to view your Reel.
- Hit Edit Clips to trim, delete or reorder your Reel.
- Once you’ve recorded your Reel you can add text, drawings or stickers.
Option two:
- Launch the Instagram app and hit the + symbol and select Reels.
- Hit the camera roll icon in the bottom left hand corner
- Select the footage or photo you want to use in your Reel.
- Use the creative tools to add audio, change the speed or edit the length of the clip.
- Hit the Add button in the top right corner.
- Repeat until you’re happy with your Reel.
- Select Edit Clips to reorder, trim and delete clips.
Once you’re happy with your Reel, hit the Next button to go to the Share page. From here you can edit the cover photo, write a caption or save as a draft.
When posting your Reel it’s important to consider the following:
- Time of day. Believe it or not the time you post can significantly impact your Reels reach. Experimenting with your posting times will give you a clearer understanding of when to post to maximise engagement.
- Tagging relevant accounts will increase your Reel’s reach and boost shareability.
- Hashtags. Instagram has a 30 hashtag limit per post, however, It’s important to use hashtags mindfully (read more here). Keep hashtags short, concise, relevant and specific.
Struggling with your social media strategy? Charlie Puffin Digital is here to help. Drop us an email at [email protected] or call 01462 558537 to book your free discovery call today